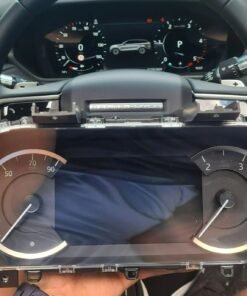
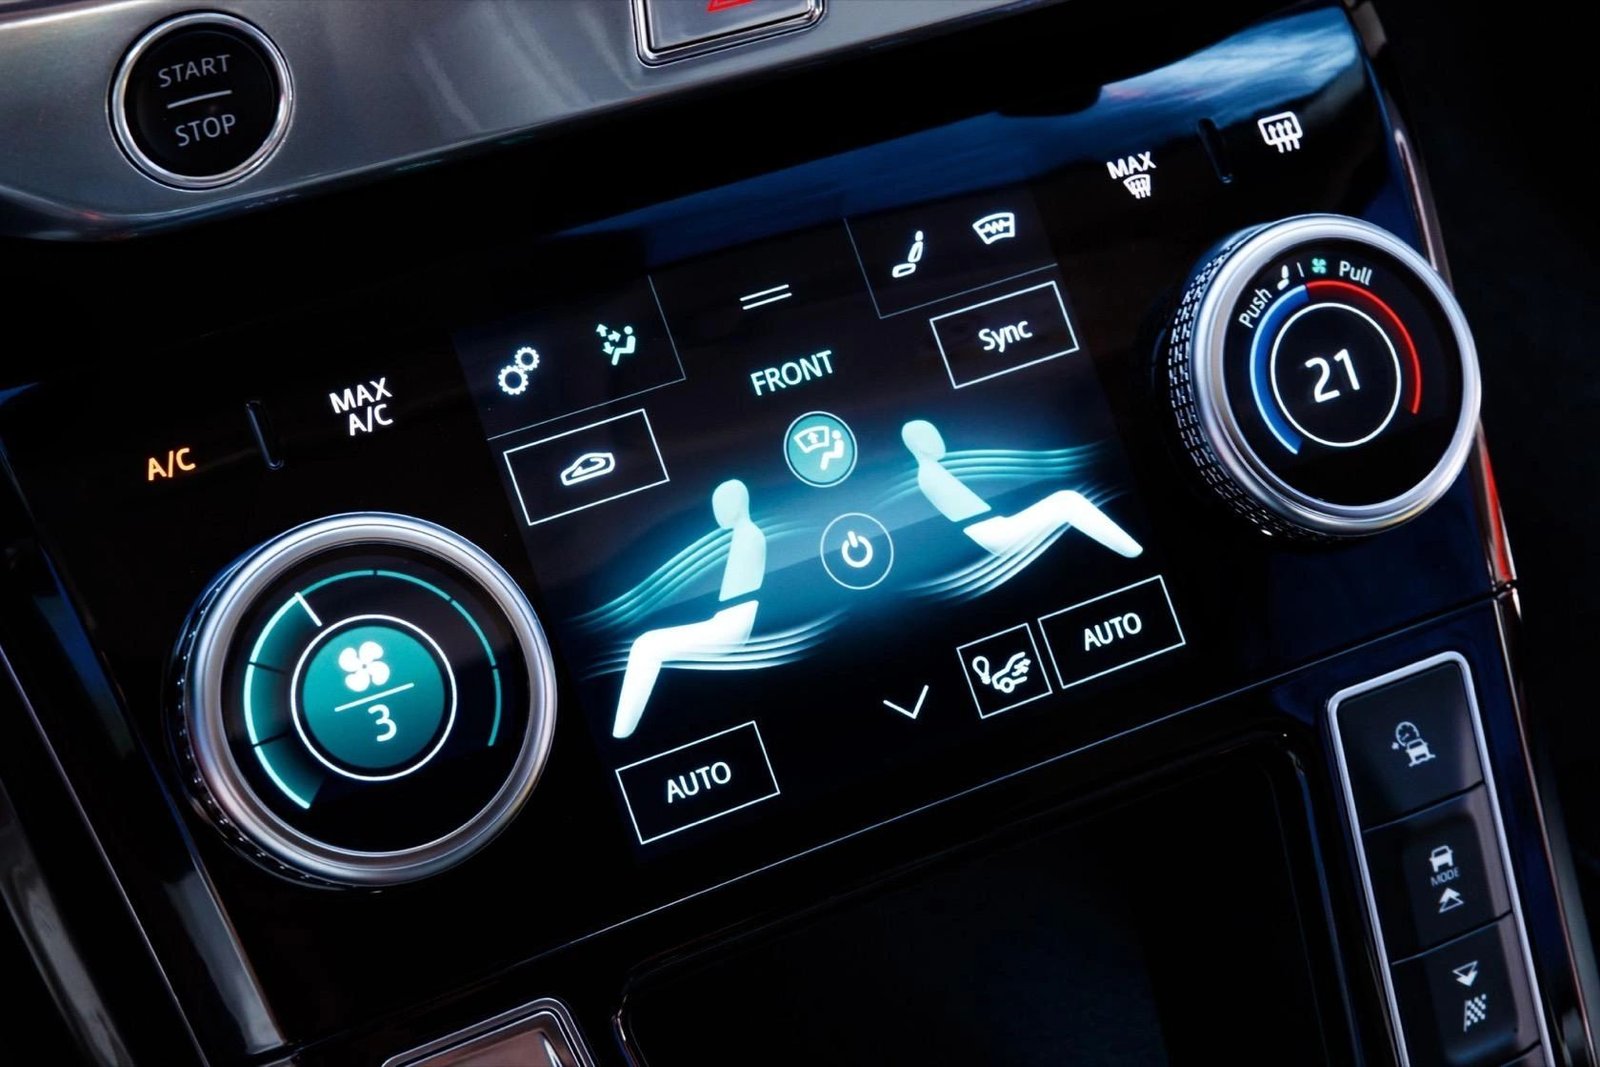
What Is the JLR Lower Touchscreen?
- Full‑resolution image (1280 × 720 px or 1920 × 1080 px depending on model)
- Factory‑calibrated colour & brightness curves
- Seamless integration with the vehicle’s Body Control Module (BCM) and Infotainment Control Unit (ICU)
- Retention of all CAN‑bus functions (e.g., touchscreen‑triggered door‑ajar warnings)
Technical Specifications
Display
- Technology: IPS LCD with AH‑LED back‑light
- Resolution: 1280 × 720 px (standard) / 1920 × 1080 px (E‑Series)
- Aspect Ratio: 16:9
- Touch Layer: 10‑point projected capacitive
- Operating Temperature: –40 °C to +85 °C
Electrical
- Supply Voltage: 12 V ± 0.5 V (via BCM)
- Current Draw: 3 A max (back‑light)
- Connector: 24‑pin high‑speed FPC, keyed for OEM insertion
- Signal Protocol: LVDS (Low‑Voltage Differential Signalling)
- Protection: IP68 rated for moisture resistance
Compatibility
- Jaguar F‑TYPE (2017‑2024) – Part #
- Jaguar XE (2018‑2023) – Part #
- Land Rover Range Rover (2020‑2025) – Part #
- Land Rover Defender (2020‑2025) – Part #
- All models use the same Enet Wi‑Fi communication for software‑side calibration.
OEM‑Fit Installation Procedure (≈ 20 minutes)
Preparation
- Park the vehicle on a flat surface, engage the parking brake and switch the ignition to “ON” (engine off).
- Connect a 70 A + battery maintainer to avoid voltage sag during removal.
- Remove the upper glass panel using the factory plastic removal tool (part #
APS‑D09‑001). - Detach the adapter from the OBD‑II port – you’ll need it for the post‑install software check.
Physical Replacement
- Unscrew the four retaining bolts (M4 × 12 mm) that lock the lower touchscreen to the console.
- Disconnect the 24‑pin FPC connector – gently lift the locking tab before pulling the cable.
- Remove the defective screen and position the new JLR lower touchscreen with the front side facing the driver.
- Reconnect the FPC cable, ensuring the keyed orientation matches the printed “0” marker on the PCB.
- Tighten the four M4 bolts to 8 Nm (torque wrench) and reinstall the upper glass panel.
Software Calibration (TOPIx)
- Launch TOPIx on a laptop, log in with engineering credentials.
- Select Vehicle → Identify → Infotainment Control Unit (ICU). The system will automatically detect the new touchscreen ID.
- Run Screen Calibration Wizard. The wizard will measure the touch‑area, adjust the 10‑point matrix and write the calibration data to the BCM.
- Validate the calibration by selecting “Self‑Test” – you should see a green check and a responsive touch grid.
- Clear any DTCs that may have appeared (e.g.,
C1A20‑96– TouchScreen Plausibility) using the “Clear Fault Codes” command.
Final Verification
- Power cycle the vehicle (ignition OFF → ON) and confirm the infotainment UI boots without delay.
- Navigate the UI and test every touch region – map, media, climate controls.
- Run a quick “All Systems OK” scan in TOPIx (module ICU) to confirm there are no remaining fault codes.
- Record the installation date, serial number of the screen and the calibration checksum in the service log.
Diagnostic & Verification Tools
Frequently Asked Questions
Is the lower touchscreen covered by the JLR warranty?
When the OEM‑grade part is installed with the correct TOPIx calibration, the flash‑back warranty (12 months/12 000 km) remains valid. Keep a copy of the calibration checksum as proof of proper installation.
Can I use a third‑party LCD panel?
No. The JLR infotainment system expects a specific LVDS timing profile and a signed firmware handshake. Non‑OEM screens will trigger C1A20‑96 (TouchScreen Plausibility) and the system will lock the display.
Do I need to re‑flash any other modules after replacing the screen?
Only the Infotainment Control Unit (ICU) requires the touch‑matrix calibration. The BCM stores the calibration data, but no additional CCF edits are needed.
How long does the whole replacement take?
Physical hardware swap: ~12 minutes. TOPIx calibration & verification: ~8 minutes. Total time: ~20 minutes for an experienced technician.
Buy the JLR Lower Touchscreen – OEM Fit
Choose the part that matches your vehicle’s VIN. The screen ships in a sealed anti‑static bag, ready for installation.
- Standard UK Shipping – + VAT (2‑3 business days)
- International Express – + VAT (5‑7 business days)
- Optional “Full Installation Service” – £299 + VAT (includes labour, TOPIx calibration and 12‑month warranty)


Reviews
There are no reviews yet.