Sign up now
Join now and unlock your hidden features and OEM upgrading experiences.
For JLR technicians addressing the growing demand for smartphone integration, upgrading to modern Type C USB modules requires precise CCF editing beyond physical installation. The Car Configuration File (CCF) governs all infotainment functions, and improper coding of new CarPlay and Android Auto modules leads to functionality gaps or system errors. Using the JET (JLR Engineering Tool) ecosystem solves the critical challenge of integrating new hardware with existing vehicle networks while maintaining OEM performance standards. This guide details the professional methodology.
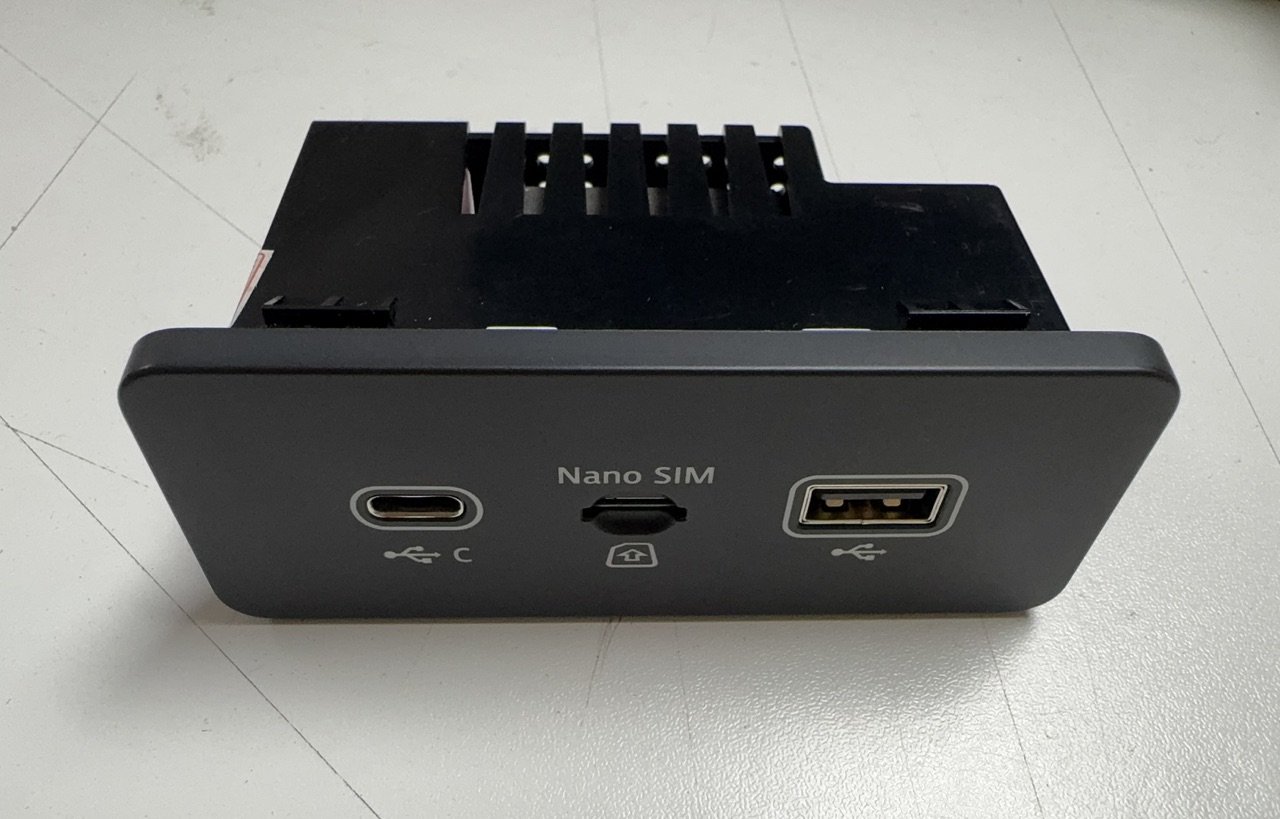
Modern JLR vehicles utilize a dedicated USB module (JLR part LR124772) that serves as the communication bridge between mobile devices and the head unit. The transition to Type C USB modules enables:
Successful integration requires three technical processes:
Challenge 1: “Device Not Supported” Error
Solution: Verify CCF coding matches USB module generation. MY2017+ requires “USB 3.1 Gen1” setting.
Challenge 2: Intermittent Connection Drops
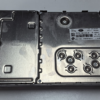
Solution: Check HS-CAN termination resistance (60Ω between pins 6-14). Replace quadlock connector if corroded.
Challenge 3: CarPlay Activates But Android Auto Fails
Solution: Enable “Dual OS Support” in VDM CCF coding. Update head unit firmware to SOTA version.
Challenge 4: TOPIx Security Authentication Failure
Solution: Confirm VIN is eligible for upgrade. MY2016-2018 may require gateway module update.
| Vehicle Model | Minimum SW Version | Required CCF Changes |
|---|---|---|
| Range Rover (L405) | IDD 188.240 | VDM USB Protocol, HS-CAN Activation |
| Range Rover Sport (L494) | IDD 178.340 | USB Power Management, Dual OS Support |
| Discovery (L462) | IDD 202.100 | Pin Assignment, Charging Profile |
| Evoque (L538) | IDD 152.670 | MOST Network Configuration (if equipped) |
No. JLR's component protection system requires SX-Tool or Pathfinder engineering functions for module authorization.
Check HS-CAN wiring and termination. Verify “Data Transfer Mode” is set to HS-CAN in VDM CCF coding.
For MY2019+ vehicles, yes – security authentication requires online validation. Pre-2019 models may use offline coding.
OEM modules support 15W (5V/3A) by default. 27W (9V/3A) requires CCF modification in Power Management settings.
Successful USB module upgrades demand precision in both hardware installation and software configuration:
Test our professional JLR coding suite with full demo access:
SX-Tool JLR Engineering Software Demo
Includes USB module coding templates and CCF editors
Tags: JLR CarPlay upgrade, Android Auto retrofit, Type C USB module, SX-Tool, CCF coding, JLR Enet WiFi
Long-tail Keywords: how to code jlr usb module for carplay, install android auto on range rover with sx-tool, fix usb not recognized after jlr upgrade, configure type c usb land rover, jlr enet wifi diagnostics setup
Focus Keyphrase: USB Module,carplay,android,sx-tool,ccf,coding,jlr enet wifi
Related Keyphrases: jlr carplay upgrade, land rover android auto retrofit, sx-tool ccf editing
Meta Description: Professional guide to JLR CarPlay/Android Auto upgrades with Type C USB modules. Learn CCF coding procedures, SX-Tool configurations, and Enet WiFi diagnostics.
For OEM-grade JLR diagnostic solutions, engineering software, and expert support on vehicle integration projects, explore our specialized tools and resources at jlrcoding.com – your technical partner in advanced JLR programming and retrofit systems.
| Weight | 1 kg |
|---|

Range Rover L460
Land Rover New Range Rover L460 activates Global Window Close

Range Rover L460
Land Rover New Range Rover L460 activates Adaptive Driving Beam

Rover Sport L460
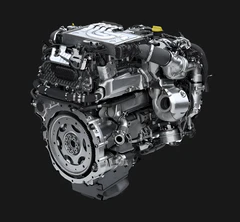
Land Rover New Range Rover Sport L460 activates P400 Power Upgrade
Rover Sport L460
Land Rover New Range Rover Sport L460 activates D350 Power Upgrade
Range Rover L405
Rover Sport L460

Defender L663

Evoque L551